Links I would like to share

Hello folks,

By lack of time (Yes, I have also a social life beside my hobbies lol) I would like to keep it short and share pages on the internet that are interesting for me and it can also be for you. Some are in Dutch some are in English I will try to give a good overview:

Photography (English):

Photography (Dutch):

  • Digitalefotografietips: With the help of this site, I have learned all the basics of photography.  Very good especially for starters. TOP SITE!
  • Photoshopmagazine: Site of a magazine I buy. Always great tutorials and sometimes they publish my work 😉
  • Belgiumdigitalforum: Good forum to see work of others or buy used stuff. Lot’s of information on it from basic to advanced photography.

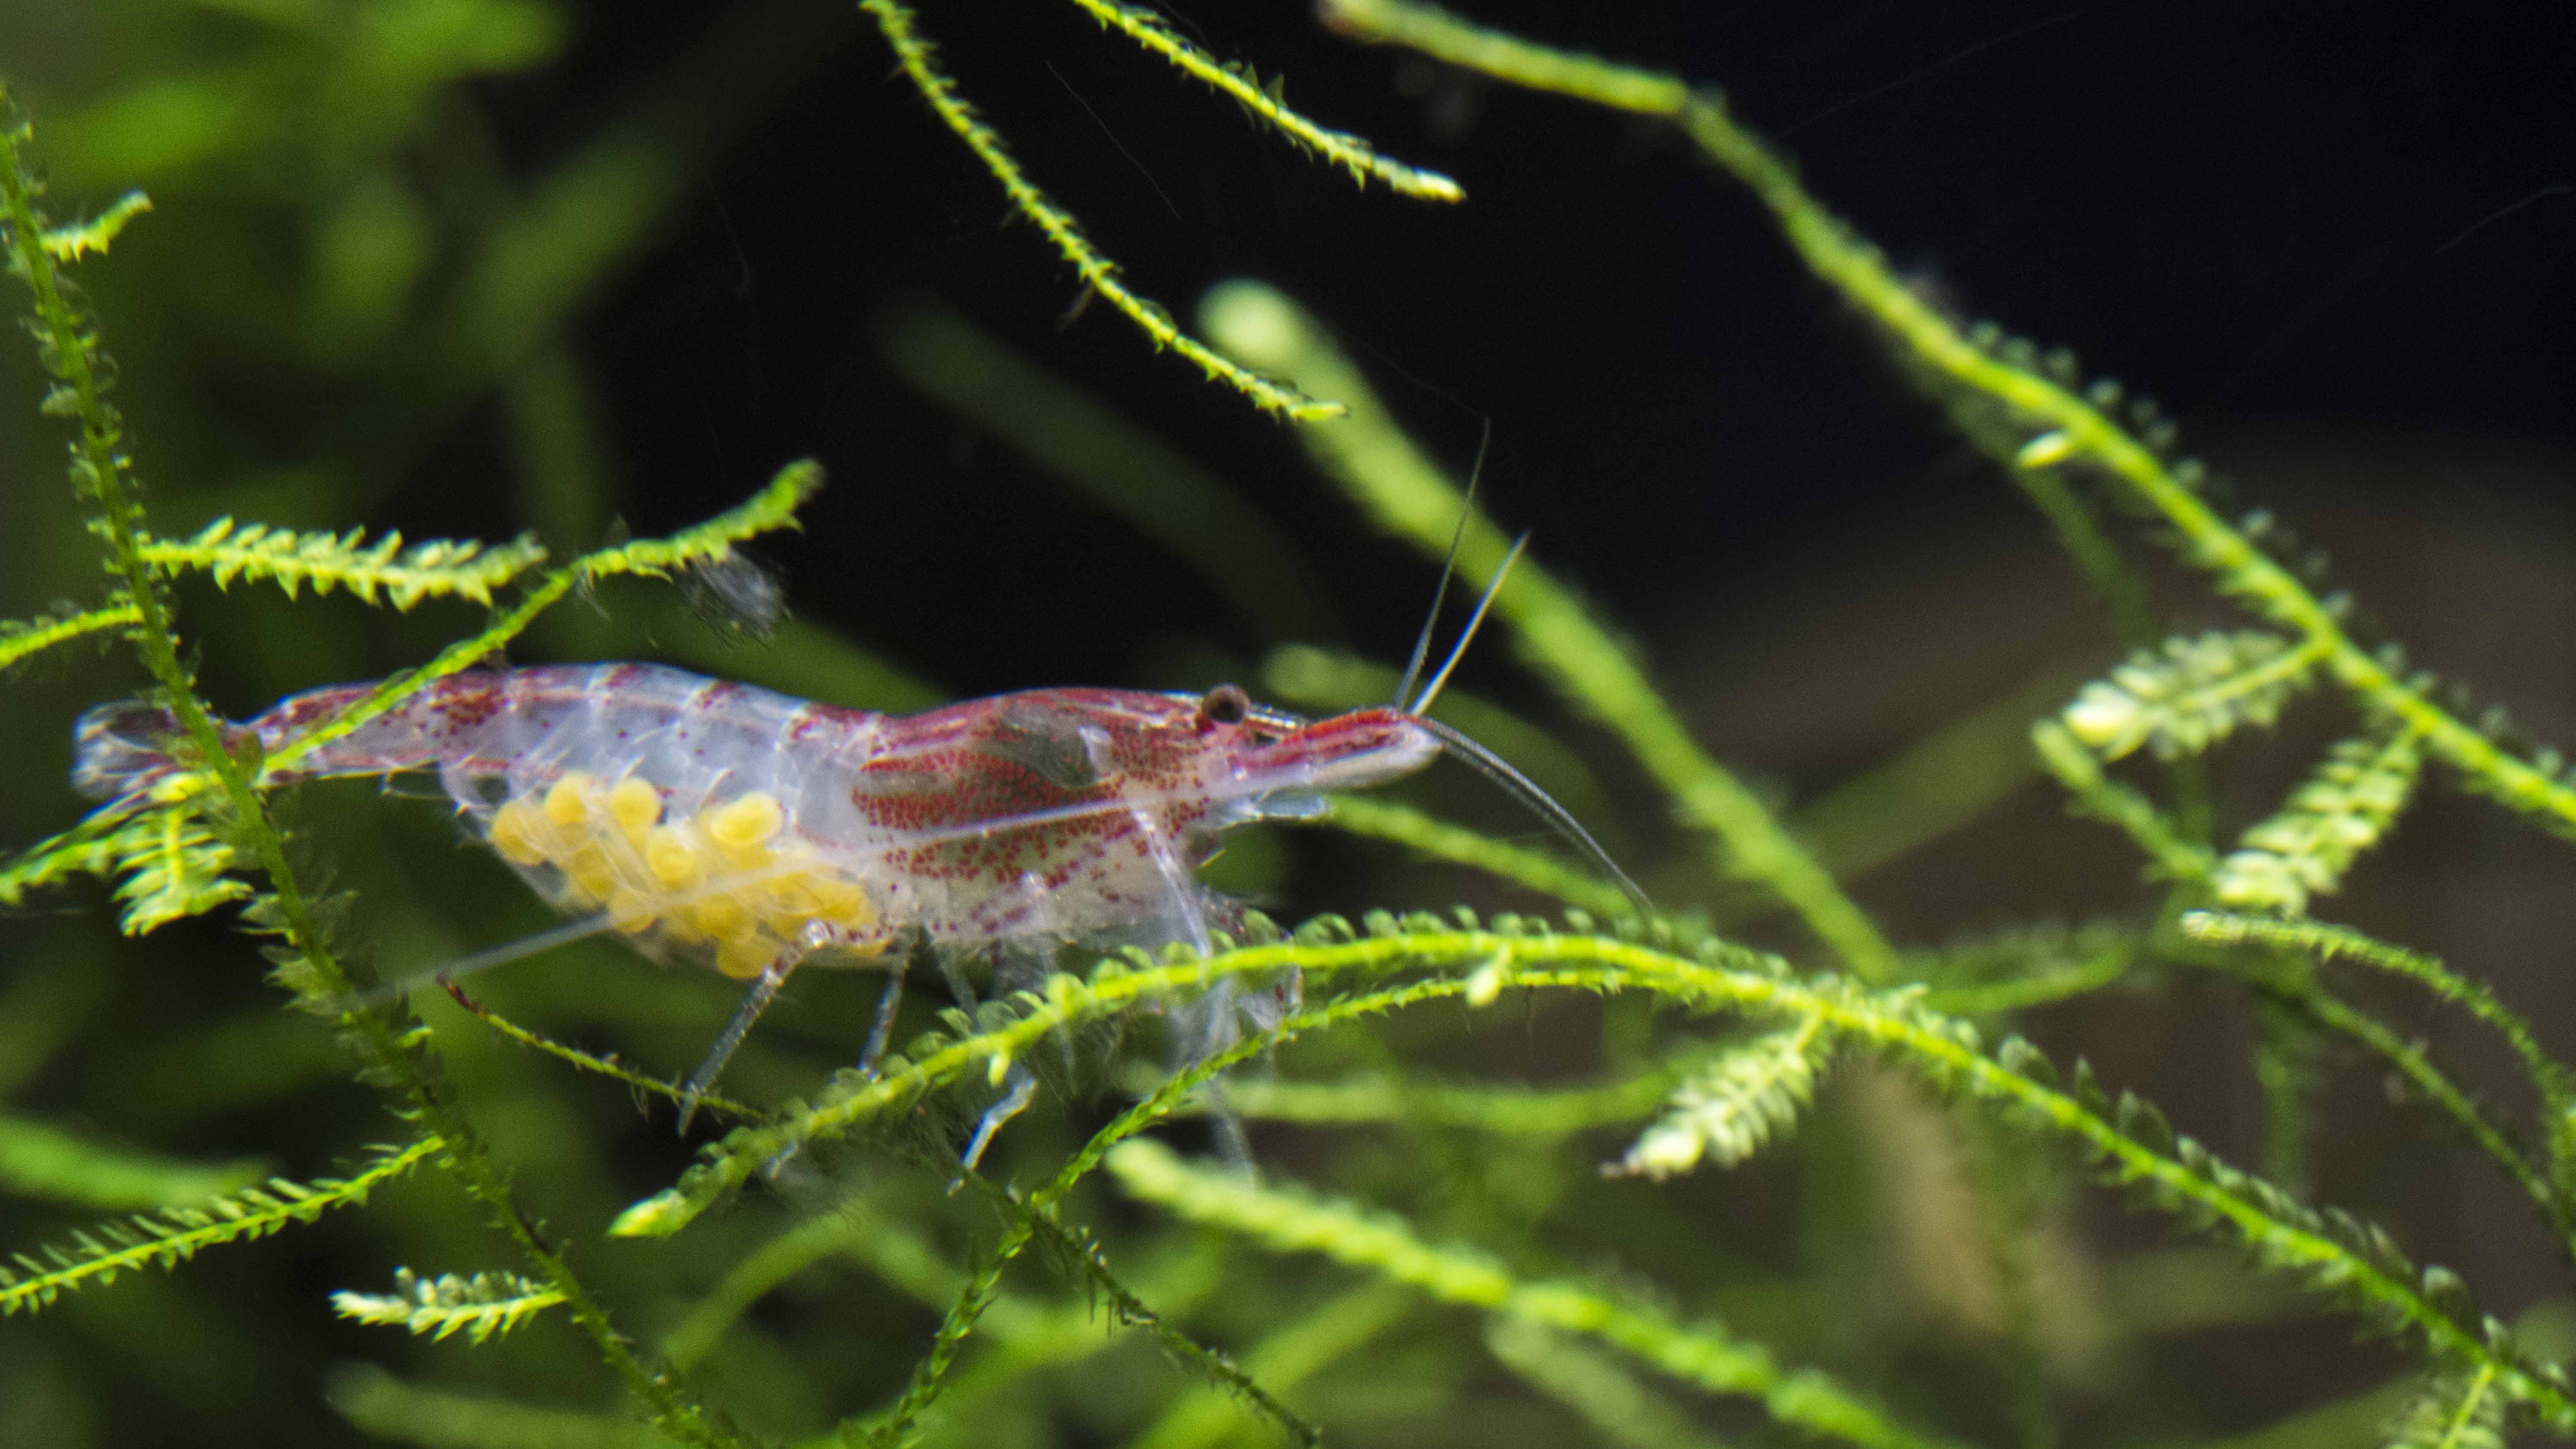
Aquarium/shrimps (English):

  • Chris Lukhaup: Link to his Flickr page, there you see the best macro pictures of shrimps and insects on the net. It is worth to google him and check him on Facebook. He does amazing.

Aquarium/shrimps (Dutch):

  • Facebook group “show jouw aquarium”: The best group on Facebook about aquarium and shrimps. Good advice of experienced friendly people. Also check their subgroups.
  • Shrimpkings: Top webshop when you need shrimps. Delivers in the BENELUX and I think if you pick up contact with the owner even further.
  • Shrimpmaster:  Nice informative site about shrimps and everything around it, also photography.

Blog (English):

David : The blog of my brother, to me it is kind of reading an alien language but they say it should be interesting when you are an advanced (in his words: beginner) computer nerd 🙂

Links to my pages:

  • Shutterstock: The first (and best) stock selling site that accepted me as a contributor. Here you have a selection of my best pics and you can buy the license to use on it for a small price.
  • iStock: My 2nd stock selling site, they are less selective then Shutterstock so you can find more pictures on it.  But of course the quality they accept is still top.
  • Facebook
  • Twitter
  • Flickr: My general picture site.
  • Youtube

Of course there is much more on internet but these are the sites I would like to credit. Some because I have learned a lot of it and some because I have a good connection with them.

That’s it for this week I hope you can do something with those links.
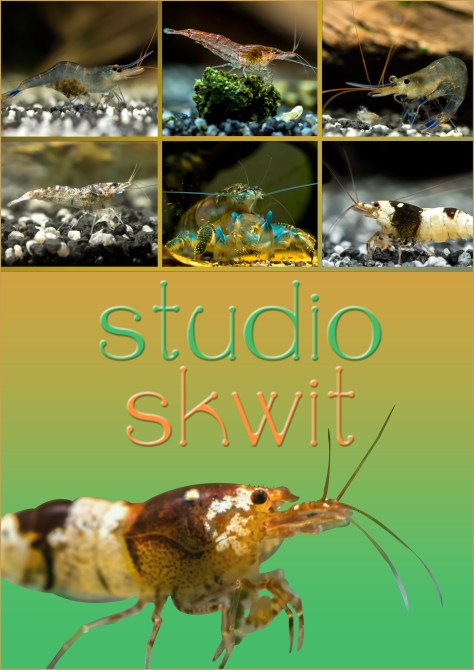
Studio Skwit

Frontview


RAW vs JPEG

After a short explanation of the triangle of photography, I’d like to explain the difference between the format Raw and JPEG.

Especially when you have a DSLR camera, always go for the RAW option. There aren’t many cameras that deliver very good JPEG files immediately.

When you choose for JPEG the camera makes some decisions for you for example sharpness, compression and other settings, but it is better that you take over the control by the RAW-file. The RAW file is your digital negative containing all the data your sensor picked up.

The main advantage of RAW is that you can change the white-balance afterwards and if your picture is under/over-exposed you can compensate it a lot without destroying your picture.

A RAW file always needs post processing on the computer (on some you can do it on the cameras too but I never tried it). For the post processing there is software as Lightroom and cameraRAW ( I prefer cameraRAW even knowing Lightroom is better and i have both), anyway when your camera supports RAW-files the manufacturer delivers software too (Nikon gives Capture NX).

Here you can see an example of how a RAW file looks like when it comes out of the camera. Next to it you see the result after post processing. I adjusted many things like exposure, white balance, contrast, sharpness, noise reduction, local adjustments, … . Maybe later I will make a post explaining the adjustments step-by-step.

Schermafbeelding 2014-04-15 om 19.43.55Click for full screen view

Resumé:

RAW:

Positive: 
– Contains all the data in the picture from the sensor
– white balance control
– Lots of control on the picture

Negative:
– Big file sizes
– Always post processing ( I like it  but you need time)

JPEG:

Positive:
– pictures are ready to use
– Small file sizes

Negative: 
– what you capture is what you get
– Less control in post processing

To end, I can say there is much more to tell about this subject. I just gave a very short impression and maybe it triggers you to look more about this subject on Google/Youtube.

Please don’t hesitate to react or contact me if you have more questions and I hope you enjoyed reading this 🙂

Studio Skwit

Shutterstock
Facebook

Flickr


The triangle of photography

So I’ve been thinking about the subject of the next text. It will be about the three basic things you need to understand if you want to shoot in manual mode with your camera. I will try to explain it in the aquarium photography set-up.

Diafragma:

This will give you the ability to choose the amount of light that will reach your sensor. On your camera it will be marked with an f-number (f2.0, f2.8….f7,1…f28). The lower the number the more light that will reach your sensor and the smaller the dept of field will get. So the subject will be very sharp and everything behind it will be very blurred.

Example 

A higher number will create a bigger DOF (depth of field). So the subject will be sharp too but you will see more of the background.
 Especially with macro lenses you will have a blurry background most of the time, but you can play with the amount of blur. In the next example you’ll see a sharp shrimp but on the background you can still recognize a snail.

Example

In the world of photography they also use ‘bokeh’ instead of DOF.

Shutter-speed:

This one is very important, especially because in aquarium photography you can’t use a flash because of the reflection in the window (or personally I think it’s not good for the shrimps and fishes). So you’ll have to work with the light that comes from the aquarium installation.
So with less light you will need a longer exposure time on the sensor which is difficult with fishes: you will need very high shutter-speeds because they are moving all the time. So on the next example you will see my shutter-speed was fast enough to freeze the shrimps on the spaghetti stick but not fast enough to have a sharp image of the swimming shrimp on the right side.

Example

Long story short:

  • fish or swimming shrimp = high speed
  • sitting shrimp = lower speed

ISO:

This one is more difficult to explain but I will try. The ISO will determinate how fast your sensor will react on the light.
 So if you have lots of light, for example on a sunny day outside, you always work on the lowest value possible (iso 100).
 Since it’s never sunny in an aquarium 🙂 you will have to raise up the iso value because of the poor available light.
 So the trick is to keep it as low as possible. I never go higher than 1600. The higher you go the more noise on the picture will get visual and that is not nice to see. With software you can remove the noise but it will never be perfect. Here an example with and without software help on a picture with iso 1000.
Click on the picture for a full size view.

Image

Image

 When you use software try not to use too much editing to avoid having an unnaturally looking result.

The triangle:

After shortly explaining the three things of the triangle, you have to try to understand how they react on each other. 
For example on the last picture the triangle was:

Diafragma f10
Shutter-speed 1/5 sec
Iso 1000

With those settings on manual mode on my camera, the built-in light meter showed a slightly underexposed image (I always do a little bit underexposure to keep the colors nice).
 So for example if the shrimp would be moving more, I would be able to use the next setting to keep the same result:

Diafragma f4
Shutter-speed 1/15 sec
iso 1000

In this case I have chosen a lower diafragma number so more light can reach the sensor. That means I can raise up my shutter-speed because the movement of the shrimp. I didn’t touch the iso setting. By opening my diafragma I will not have such a nice dept of field, especially in this example it is nice to see the moss on the background too. Another solution can be:

Diafragma f10
Shutter-speed 1/15 sec
iso 3200

What will happen now? You will keep the nice DOF and you will have enough speed but your image will have a really high noise problem.

Conclusion:

If you change the value of one of the three options, it will have an impact on the other two. The built-in light meter is your friend to give you an idea how the picture will look before you push the trigger. Of course we live in a nice era of digital camera so you can also take a lot of pictures and with the preview on the little screen you can see what the problem is and adjust the settings.

I hope you enjoyed reading this and it made things more clear for you.
Don’t hesitate to contact me if u have questions 🙂

Thx

Studio Skwit

Shutterstock

iStock


Flickr


Facebook

Studio Skwit and the quest for the perfect shrimp picture

So like I said I started this blog because lately lots of people ask me how I do things. In a way I like that but I am also a lazy person so I prefer now to write it down in this blog and later I can give the link too this blog. When you check my Flickr-page you see an example of all my pictures I’ve made lately. So if you go to the older pictures they are made with a Nikon D3100 + Sigma 105 mm macro.

I think I did sometimes a really great job, specially knowing it’s the starters camera of Nikon. But I always had to take a lot of pictures and I was not happy with my high iso (1600)and slow shutterspeeds (around 1/10 sec). To achieve lower iso I thought about buying a new camera. I was looking for the Nikon D610 but the high price and other lenses you need on this one made me look for the Nikon D7100. Since a big month I have this camera. I am really happy with it and also the way to operate it. But did it help me for my shrimp photography? NO LOL. Did I regret I bought it? NO :-). The camera is really a big step forward and specially it shows a much bigger amount of detail in the pictures and I also like the 24 Mp instead of 12. Gives me the ability to crop in the picture without loosing too much pixels.

Then I start to experiment with an offset flash on my aquarium with a downwards flash direction (same direction of my aquarium light). First of all I don’t like to flash in the direction of my shrimps but i tried it and it really doesn’t work well, also I had too much reflection in my aquarium glass from the flash on my camera who has to trigger the off-set flash. So another option that didn’t work in my quest for the perfect Shrimp picture 🙂

Few weeks ago I went to my favourit camerashop and ask him for solutions to have extra light and he showed me something nice. A portable continous Led Light from Manfrotto. The idea was good but 199 euro was too much. On internet I started to look for alternative and i found one for 70 euro. Now i put it up my aquarium and it does really do good job without disturbing my shrimps. I can even lower the iso sometimes under 400 (ok then I still have a slow shutterspeed) but it gaves a very noiseless sharp image. Or sometimes i raise the iso up again towards 1600 and I can enjoy shutterspeeds up to 1/50 that makes the little claws visible of the shrimp who are continues moving for eating. So now I am still experimenting with it.

I always send my best pics to shutterstock in the hope they accept them. So with my latest set-up I hope to achieve a higher ratio of accepted picture. The point of sending them to shutterstock is in the first place of course to sell them but also to give shrimp-webshop-owners a cheap and legal alternative to use nice pictures on their sites.

So shortly what can i say more for the Quest:
– Always use a tripod
– Use a shutter release cable
– Always shoot in raw format

After making the pictures you have to post process the pics on your computer. I will tell more about this later.

Last word, English is not my native language so excuse me for mistakes or not correct things. Maybe an advantage of it is that i use easy English.
Also I am not a professional. Never followed photography school and everything I have learned comes from internet. Since 2011 I am busy with it and also I love it a lot to photoshop pictures. So I am still learning and don’t shoot me if I say something that is not correct. It comes all from my own experience and my obsession for the quest 🙂

Hope you enjoyed reading this,

Studio Skwit

redrilieggs